
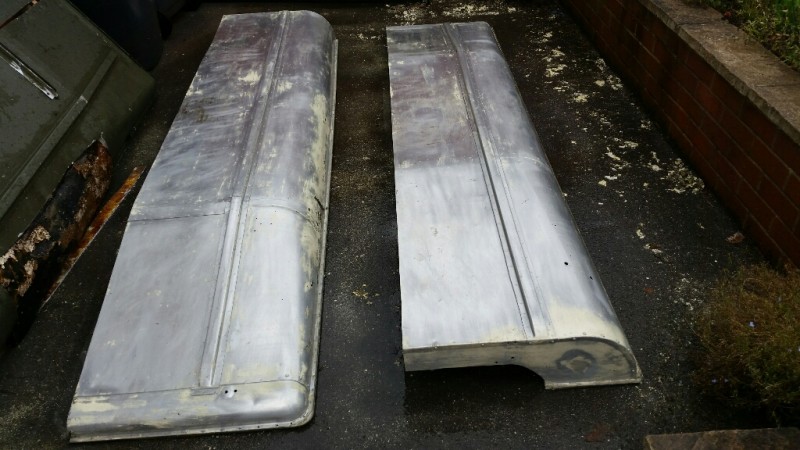
After a few weeks of searching, I finally found another roof, and this one was only 20 miles from home.
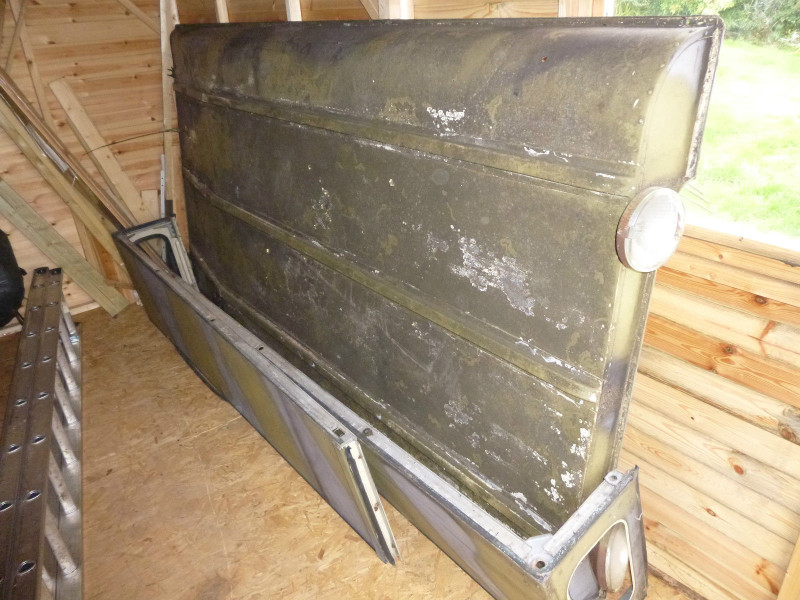
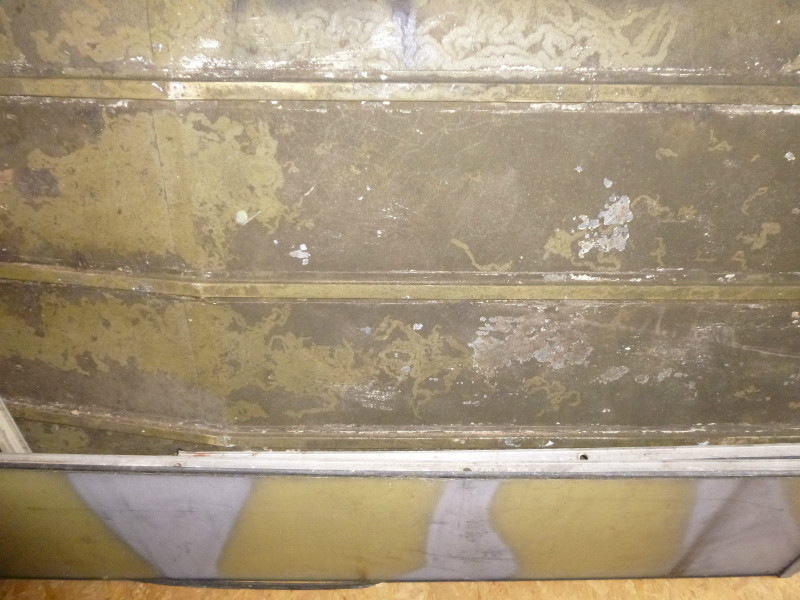
Interesting patina after 35+ years and numerous resprays by the looks of things.
I got it home and could start stripping off the broken spotlights, brackets and aerials. There’s a few holes to fill, but that’s not a problem.

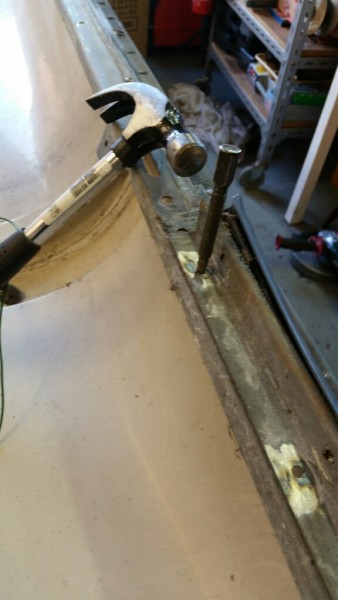
Off came the front door shut/seal brackets – I drilled out the rivets and tapped them through.
Next the inside was a nest of cables and wires, that was all cut out and discarded.

The strengthening brackets for the rear door were also drilled and removed.

And then I cut out the rear door shut seal ledge. This gap will be filled in later to make a completely flat seal around the base.

Now it was time to cut the roof in half! I marked out the 130mm section I wanted to remove, and slowly followed the line with a jigsaw.

I started stripping the paint and discovered the roof was originally cream coloured.
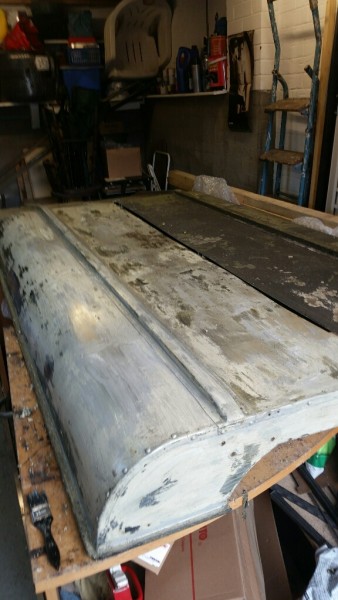
More paint stripper and mostly back to shiny aluminium now.
There are two hollow ribs running cross-ways inside the roof, these were structural bars which were obviously cut through so I could narrow the roof. I bought some 10 gauge 3/4″ aluminium box section to slide into both halves of these ribs, and I could then rivet it in place to hold both sides of the roof together.
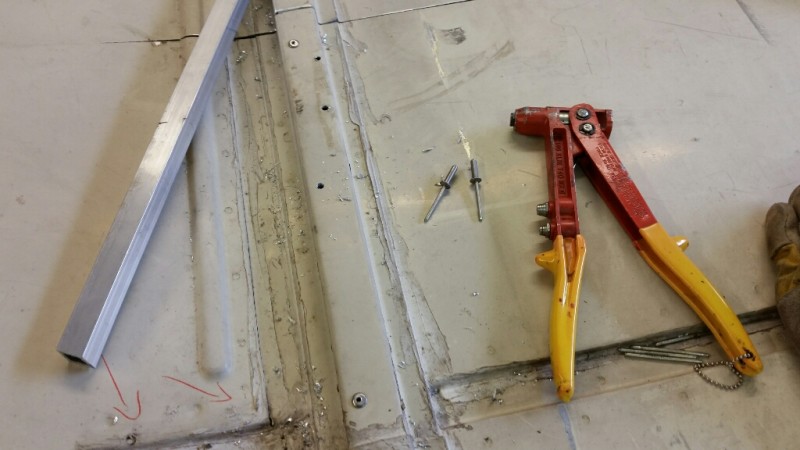
I riveted more ally box inside the lip at the front to strengthen that area.

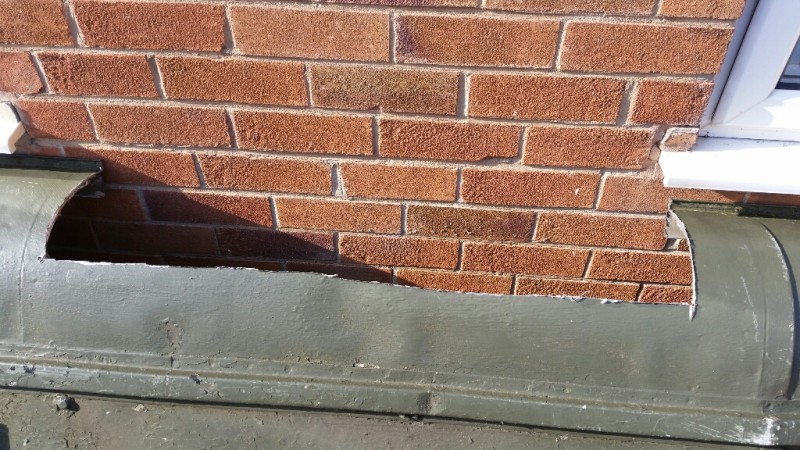
I needed some aluminium sheet to fill the section I cut out by the rear door frame. I used a piece taken from my practice (now: donor) roof so that I keep the same profile along the bottom edge.
The only place on the donor roof which was big enough was from the side. This was a curved piece which I needed to straighten with the help of a home made jig.

Clamped in place I could tease the sheet into a straight-ish piece with a BFH.

More ally bar was riveted through to hold it in the right place. The sides and bottom were bonded and sealed with some adhesive and frame sealant.

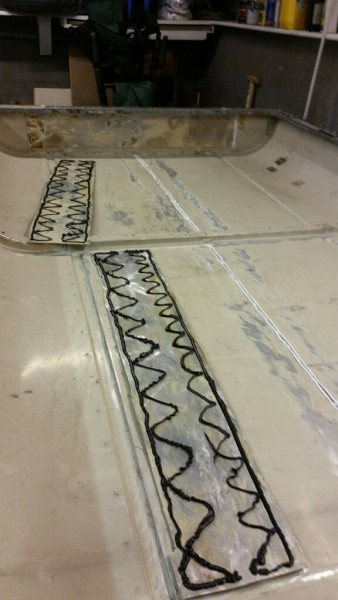
I also cut some flat strips from the donor roof to span the cut line in the roof and hold it together.
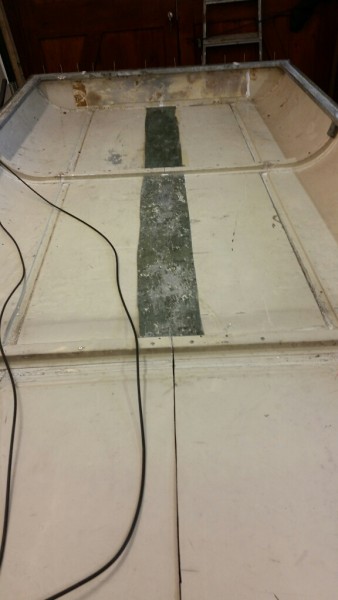
It was bonded and sealed too, and then weighted down to cure.

I filled the join in the roof with some more frame sealer .

And here we are. Structurally its complete, the surface preparation just needs finishing off before I can start painting.


Leave a Reply