
Earlier in the blog I mentioned that I was still unsure about what material to make the pop-top roof shell out of. Time was pressing on, and I needed to make a decision.
After discounting wood due to the weight, especially if wanting to get a semi-aerodynamic shape and rounded corners – it would have been a nice cheap solution that I could make from scratch entirely at home, but with the rack alone estimated at around 40kgs, I only had another 60kgs to play with before I reached Nissan’s recommended 100kg maximum load for the roof.
I consulted a couple of fibreglass and composite manufacturers, but due to being a one-off the cost of a pattern, mold and finished roof to my exact design was prohibitive – I was looking at £3,000!
I went to see a VW camper specialist to see if a fibreglass roof for their pop top conversions could be adapted, again it was at least £1,000 for the roof which would then need lengthening and narrowing, plus it didn’t really have enough depth for what I was after.
A similar story from an aluminium fabricator showed that the final cost would just be too high for what I ultimately wanted to be a budget conversion. This wasn’t going as smoothly as I’d hoped.
I started looking at existing vehicle roofs that I could modify down to size, I spent a couple of afternoons trawling scrapyards looking at high-top vans for any that had the roof made from fibreglass, but nothing really stood out.
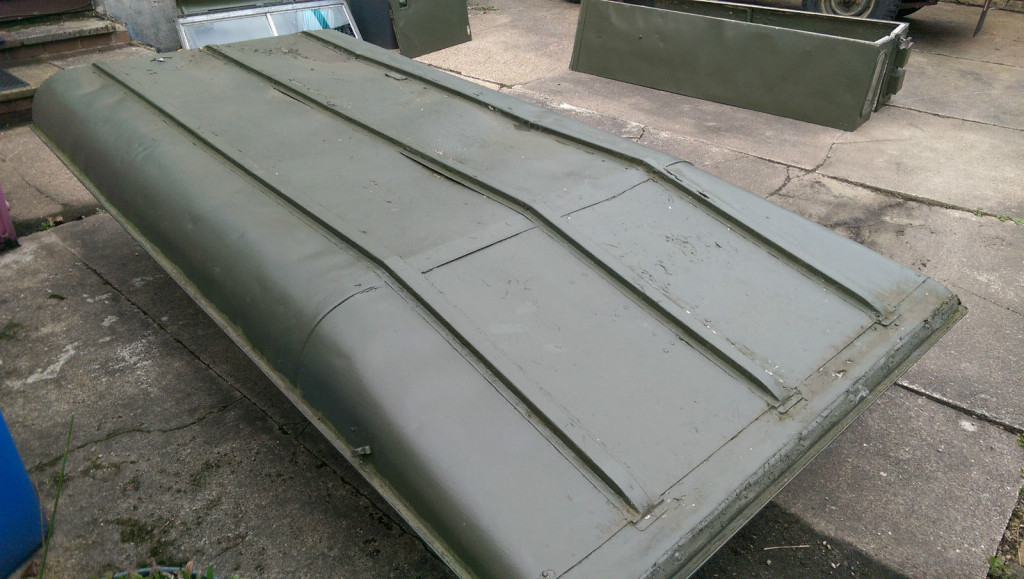
Finally I stumbled upon a Land Rover 110 roof for sale on ebay, I didn’t realise they were detachable – and it looked the right shape and height, and being made of aluminium should be fairly light. After some more research I determined that I needed a roof from a Land Rover Series 3 LWB 109 model. This had the advantage over the 110 roof of having a profiled front edge, instead of being cut out to accommodate the 110s taller windscreen:
 109 roof 109 roof |
 110 roof 110 roof |
The 109 roof was approximately 1470mm wide and 2900mm long. Being only 100mm too short I thought I could get away with only having to modify the width – which would also cut down on the work involved.
The search for a roof began, and I found this one only 15 miles from me.
I’d originally planned that this would become the finished roof, but on getting it home I discovered it was in a worse state than I thought from the photos – there were a lot of dents, and the leading edge had been properly squashed.
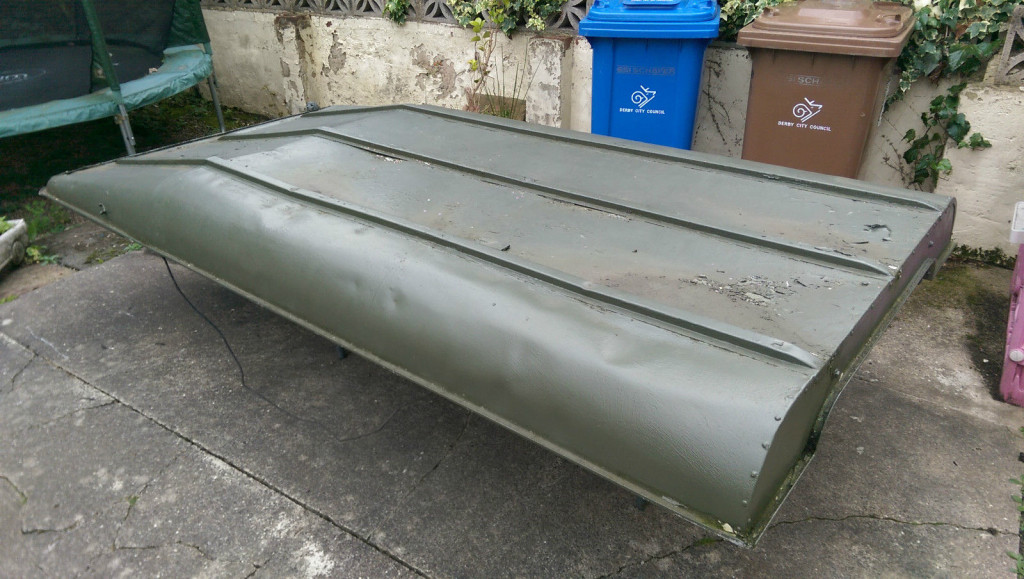
Also it had some tatty old insulation bonded to the inside with industrial strength adhesive, which proved extremely difficult to remove. So, I decided to turn this roof into my mock up practise run, and also cannibalise it for material if I needed any additional aluminium sheet.
So, to test the process, I removed a 130mm strip from the middle of the roof to narrow it, and screwed some battens to both halves to hold it back together.

The finished roof will have aluminium bar riveted to the inside ribs to hold it together – but as this was a practise, so a few bits of 3×2 wood, and aluminium offcuts would do the job for now.

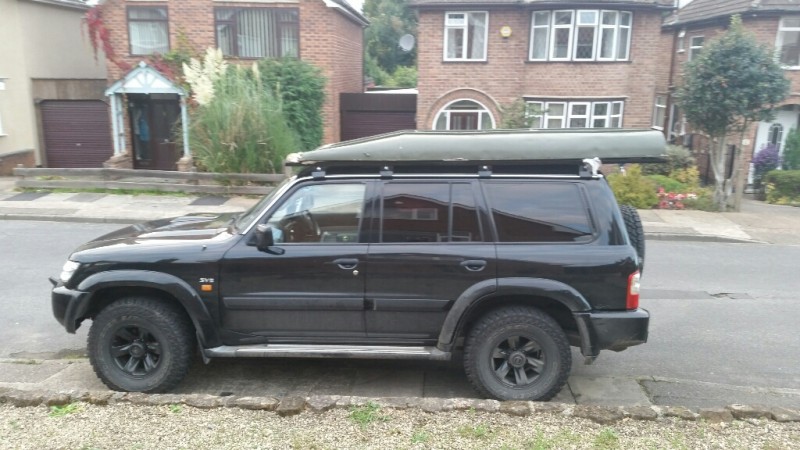
A trial fit on the roof just to get a sense of proportion, and I’m pretty pleased with how it looks.
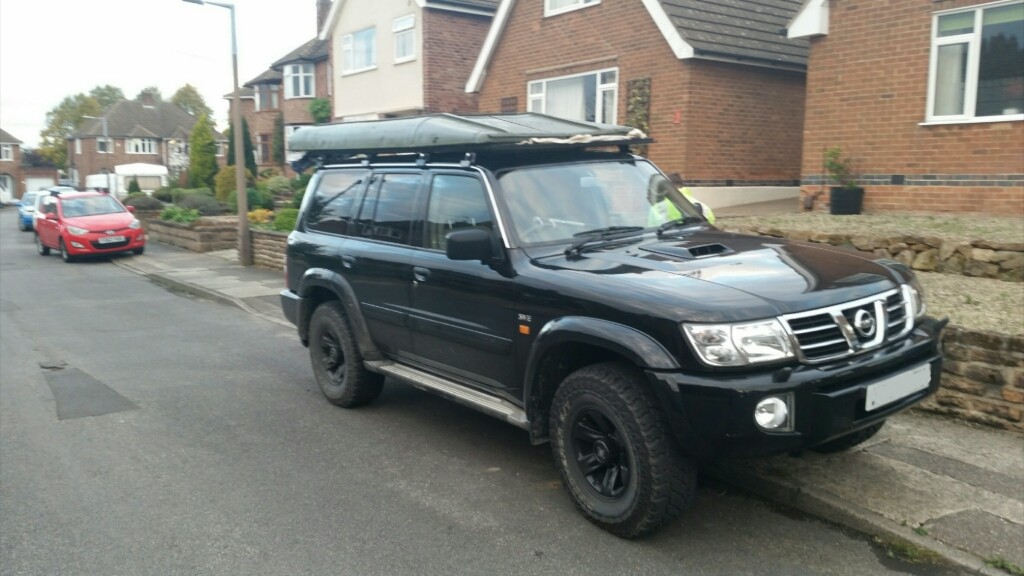
The finished article will be painted black to match the truck so should hopefully stand out a little less. We shall see.
Leave a Reply